First I got a long sleeved shirt and some lounge pants that he never wears anymore. Then I cut 5" x 5" squares of random quilting fabric that was kinda manly looking. I ironed down the edges of the squares. I didn't want to totally ruin the pants so I sewed the straw directly to the square.

Then I pinned the squares on the pants and sewed them on. I only did 4 patches because I got bored of it pretty quick. You can do as many patches as you want of as many different sizes as you want. The important thing is to not forget the back of the pants. ALSO when you are sewing the straw on, it might get crunched off and fall off. Sew on more then you need so straw loss is not a big deal. Or, pin and sew on each patch as needed. I sewed them on all at the same time but that's because I got tired of the straw.

Next, for the shirt I did the same thing...sorta. The shirt is really stretchy so I didn't want to do a bunch of patches. I combined 2 squares and sewed the straw on the back too. Then I pinned it and sewed it to the shirt.


Then, *sigh* the hat. I did see a hat at Wal-Mart that was straw and was his size and was, well, perfect. It was also, however, almost $10. That is more than I am willing to spend on a hat that he will never wear again and will be smushed and in the bottom of my closet on November 1st. So, I decided, never having made a hat before to make one out of the burlap. I decided I wanted it to sit kinda high on his head and have a small brim so he would look kinda cool and intentional instead of being huge and having a giant floppy brim and looking stupid and lame like "My wife made me wear this."
Start by measuring your victim's head. This is how big around you need to make the hat. My husband has a huge head. It's 24" around. Divide it by 3 and add about an inch. You need to make 3 triangles first, and that will be the length of the bottom of the triangle. Decide how high you want the hat to be. Like I said I wanted his to be short. Mark it and cut it out.


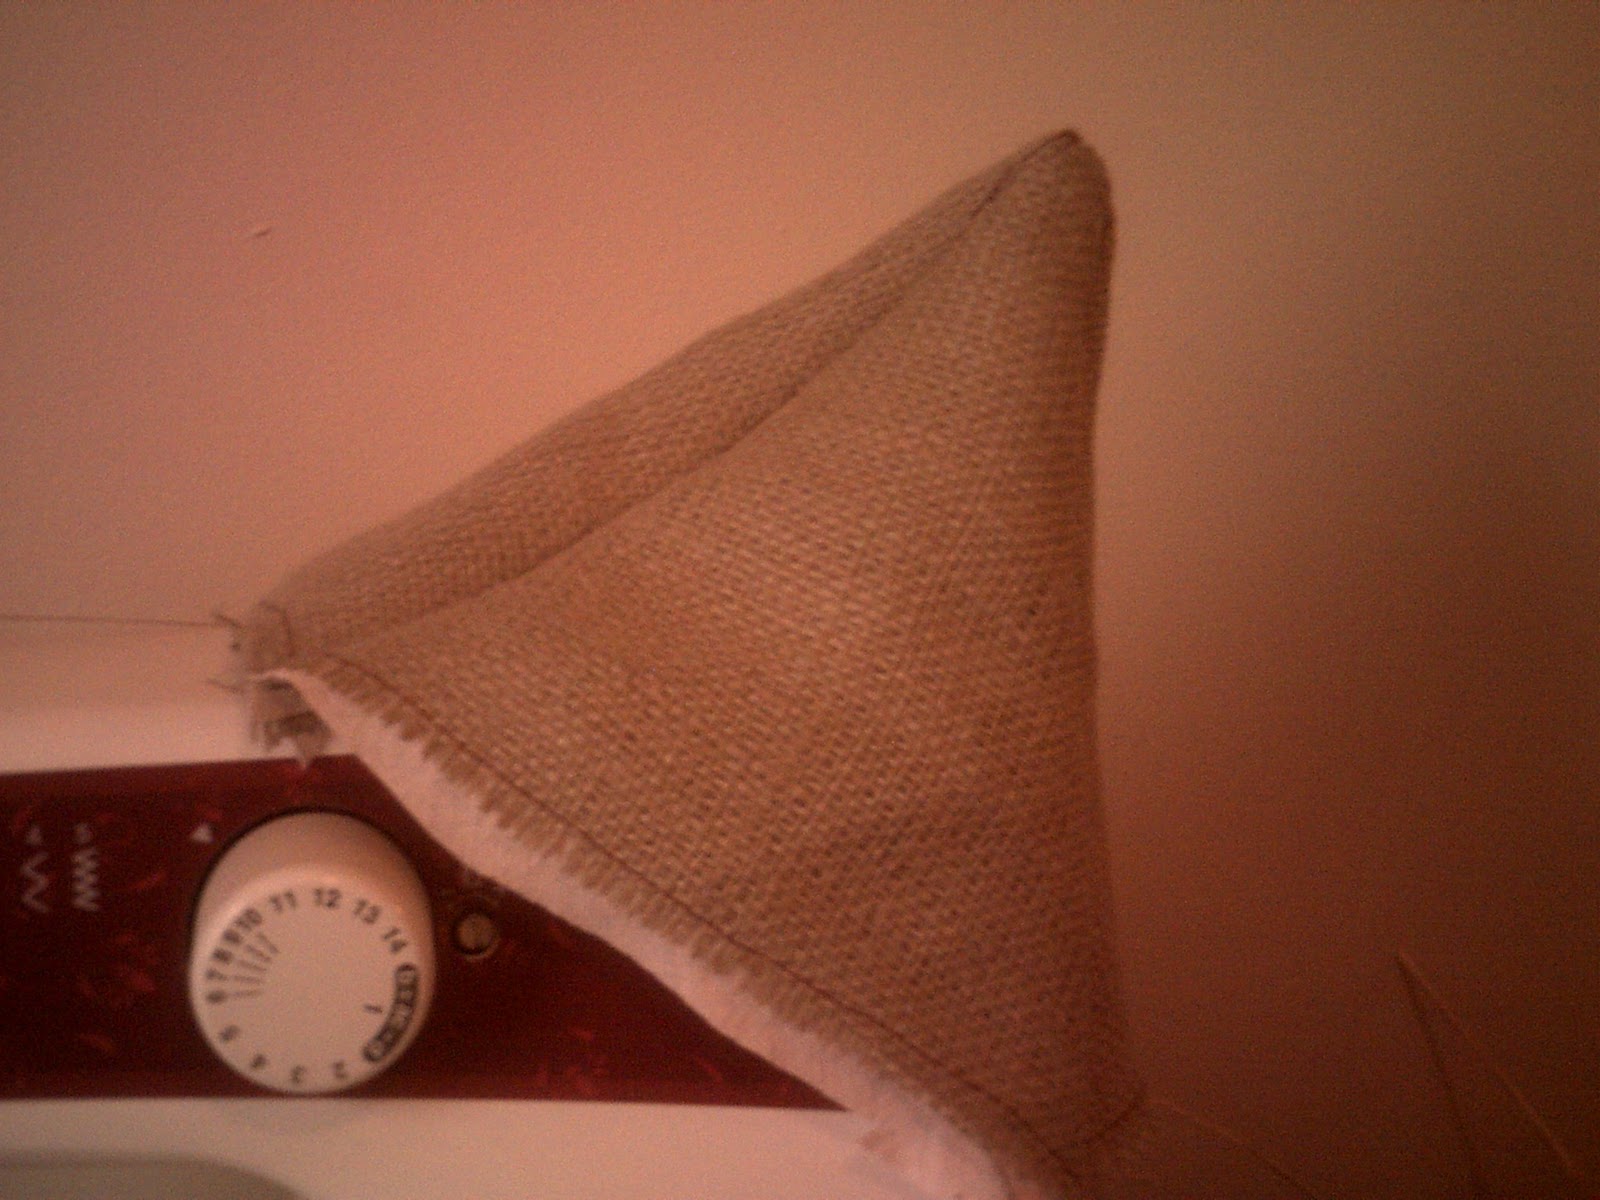
Pin the triangles together burlap sides together and sew the sides. (not the bottoms!!!)

Turn it inside out and you will have a little (or big) cone. My sewing machine has a hat! The sides should be even but if not don't freak out. It'll be dark outside first of all and second of all, you're going to be attaching a brim to it. Well, unless you're going for a "Pierrot" type of scarecrow.
Leave your little pointy hat alone for a minute and get the burlap again. I doubled mine to make two layers so the brim wouldn't be so floppy. You need to make a circle for the brim. I found the hugest circle in my house and traced it. You can also put a pin in a tape measure and take your marker in a circle to get a perfect circle.

Cut it out. pin it together. Sew it together lining up the edge. Take the cone and put it in the middle and make marks where the hat will fit.


Sew where the marks are. Cut out the hole. Take the brim and line it up exactly to the cone and sew it. Be careful not to sew it backwards. The soft fabric is on the outside and the brim is on the outside. The burlap part of the cone is in the middle.
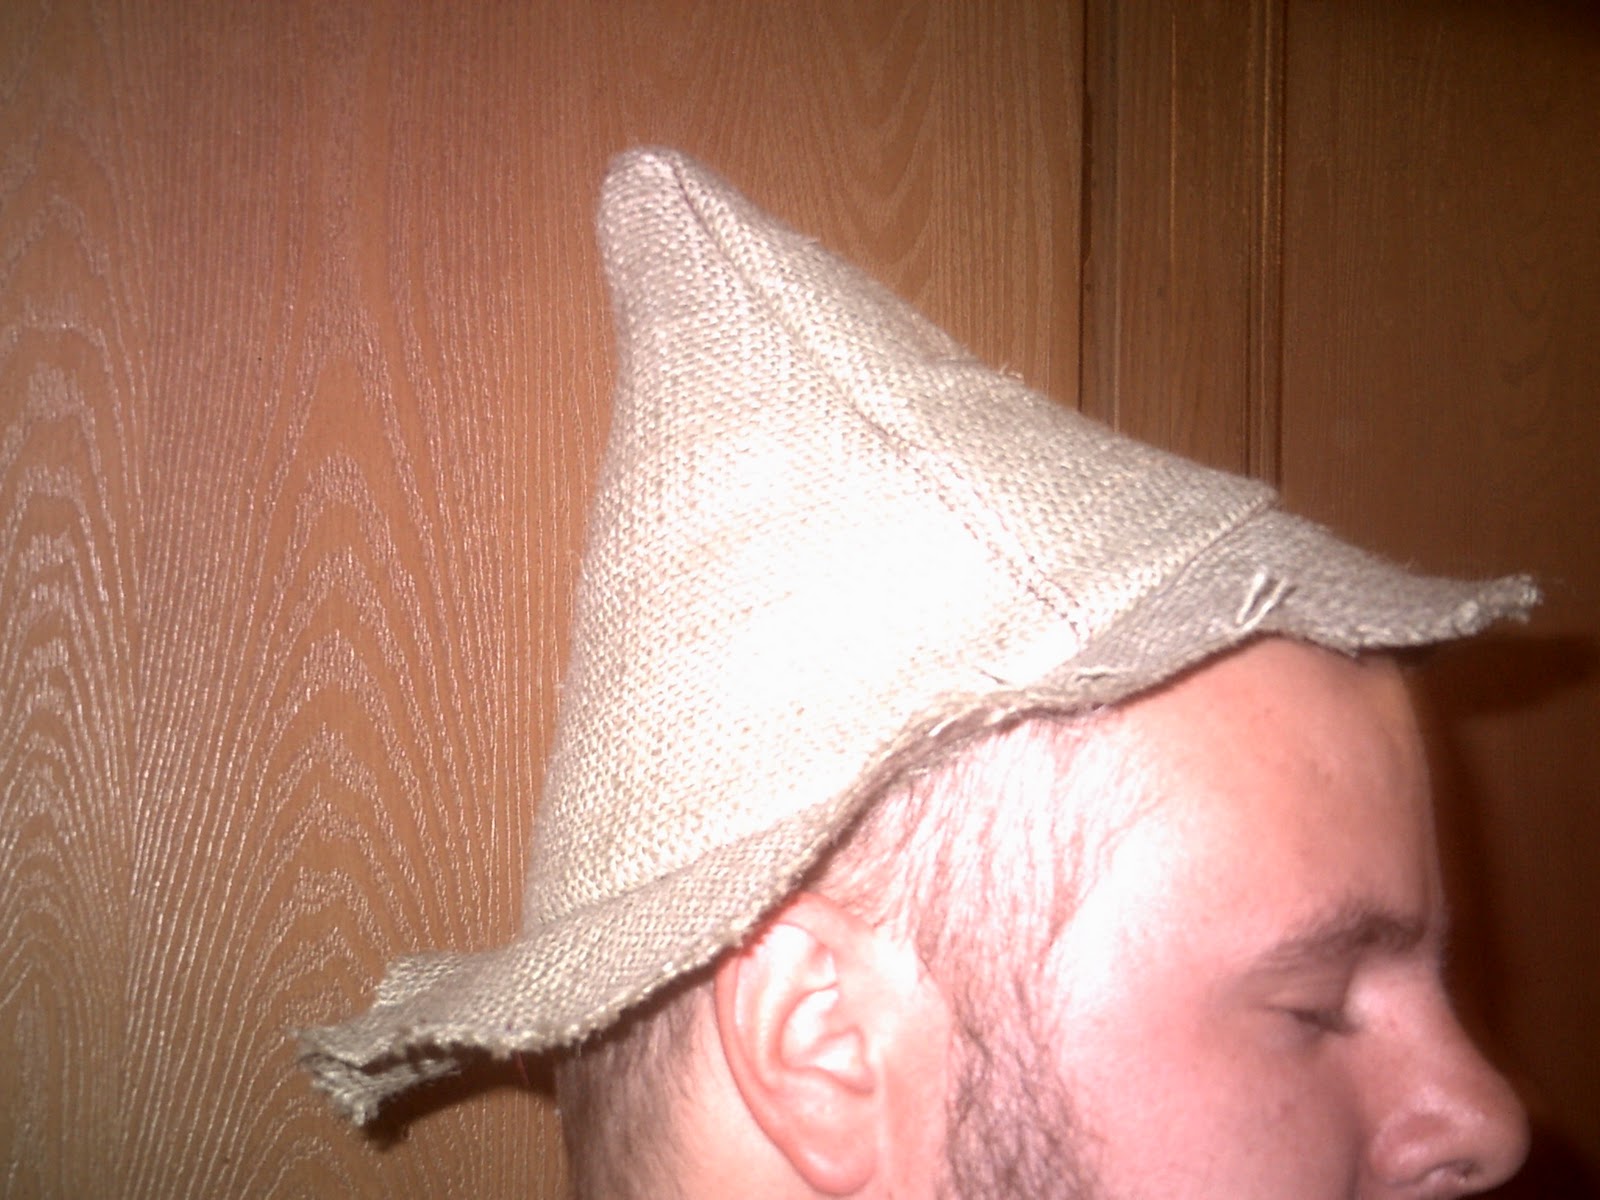
This is what mine looks like finished. You can add ribbon to the brim or hot glue straw to it. Just because I didn't doesn't mean you can't.
I decided the neckline of the shirt looked kinda naked so I made something to go on it with the leftover burlap. Make it the exact same way as the brim of the hat only a little thicker. Just cut it somewhere and put Velcro on it so you can put it around your neck.

This is the final product. (Sans pants) I think it looks pretty cool.

Let me know if you have any questions and let me see pics of yours if you make some!
No comments:
Post a Comment